Meta did this from around 16th of december until the 24st, 2023
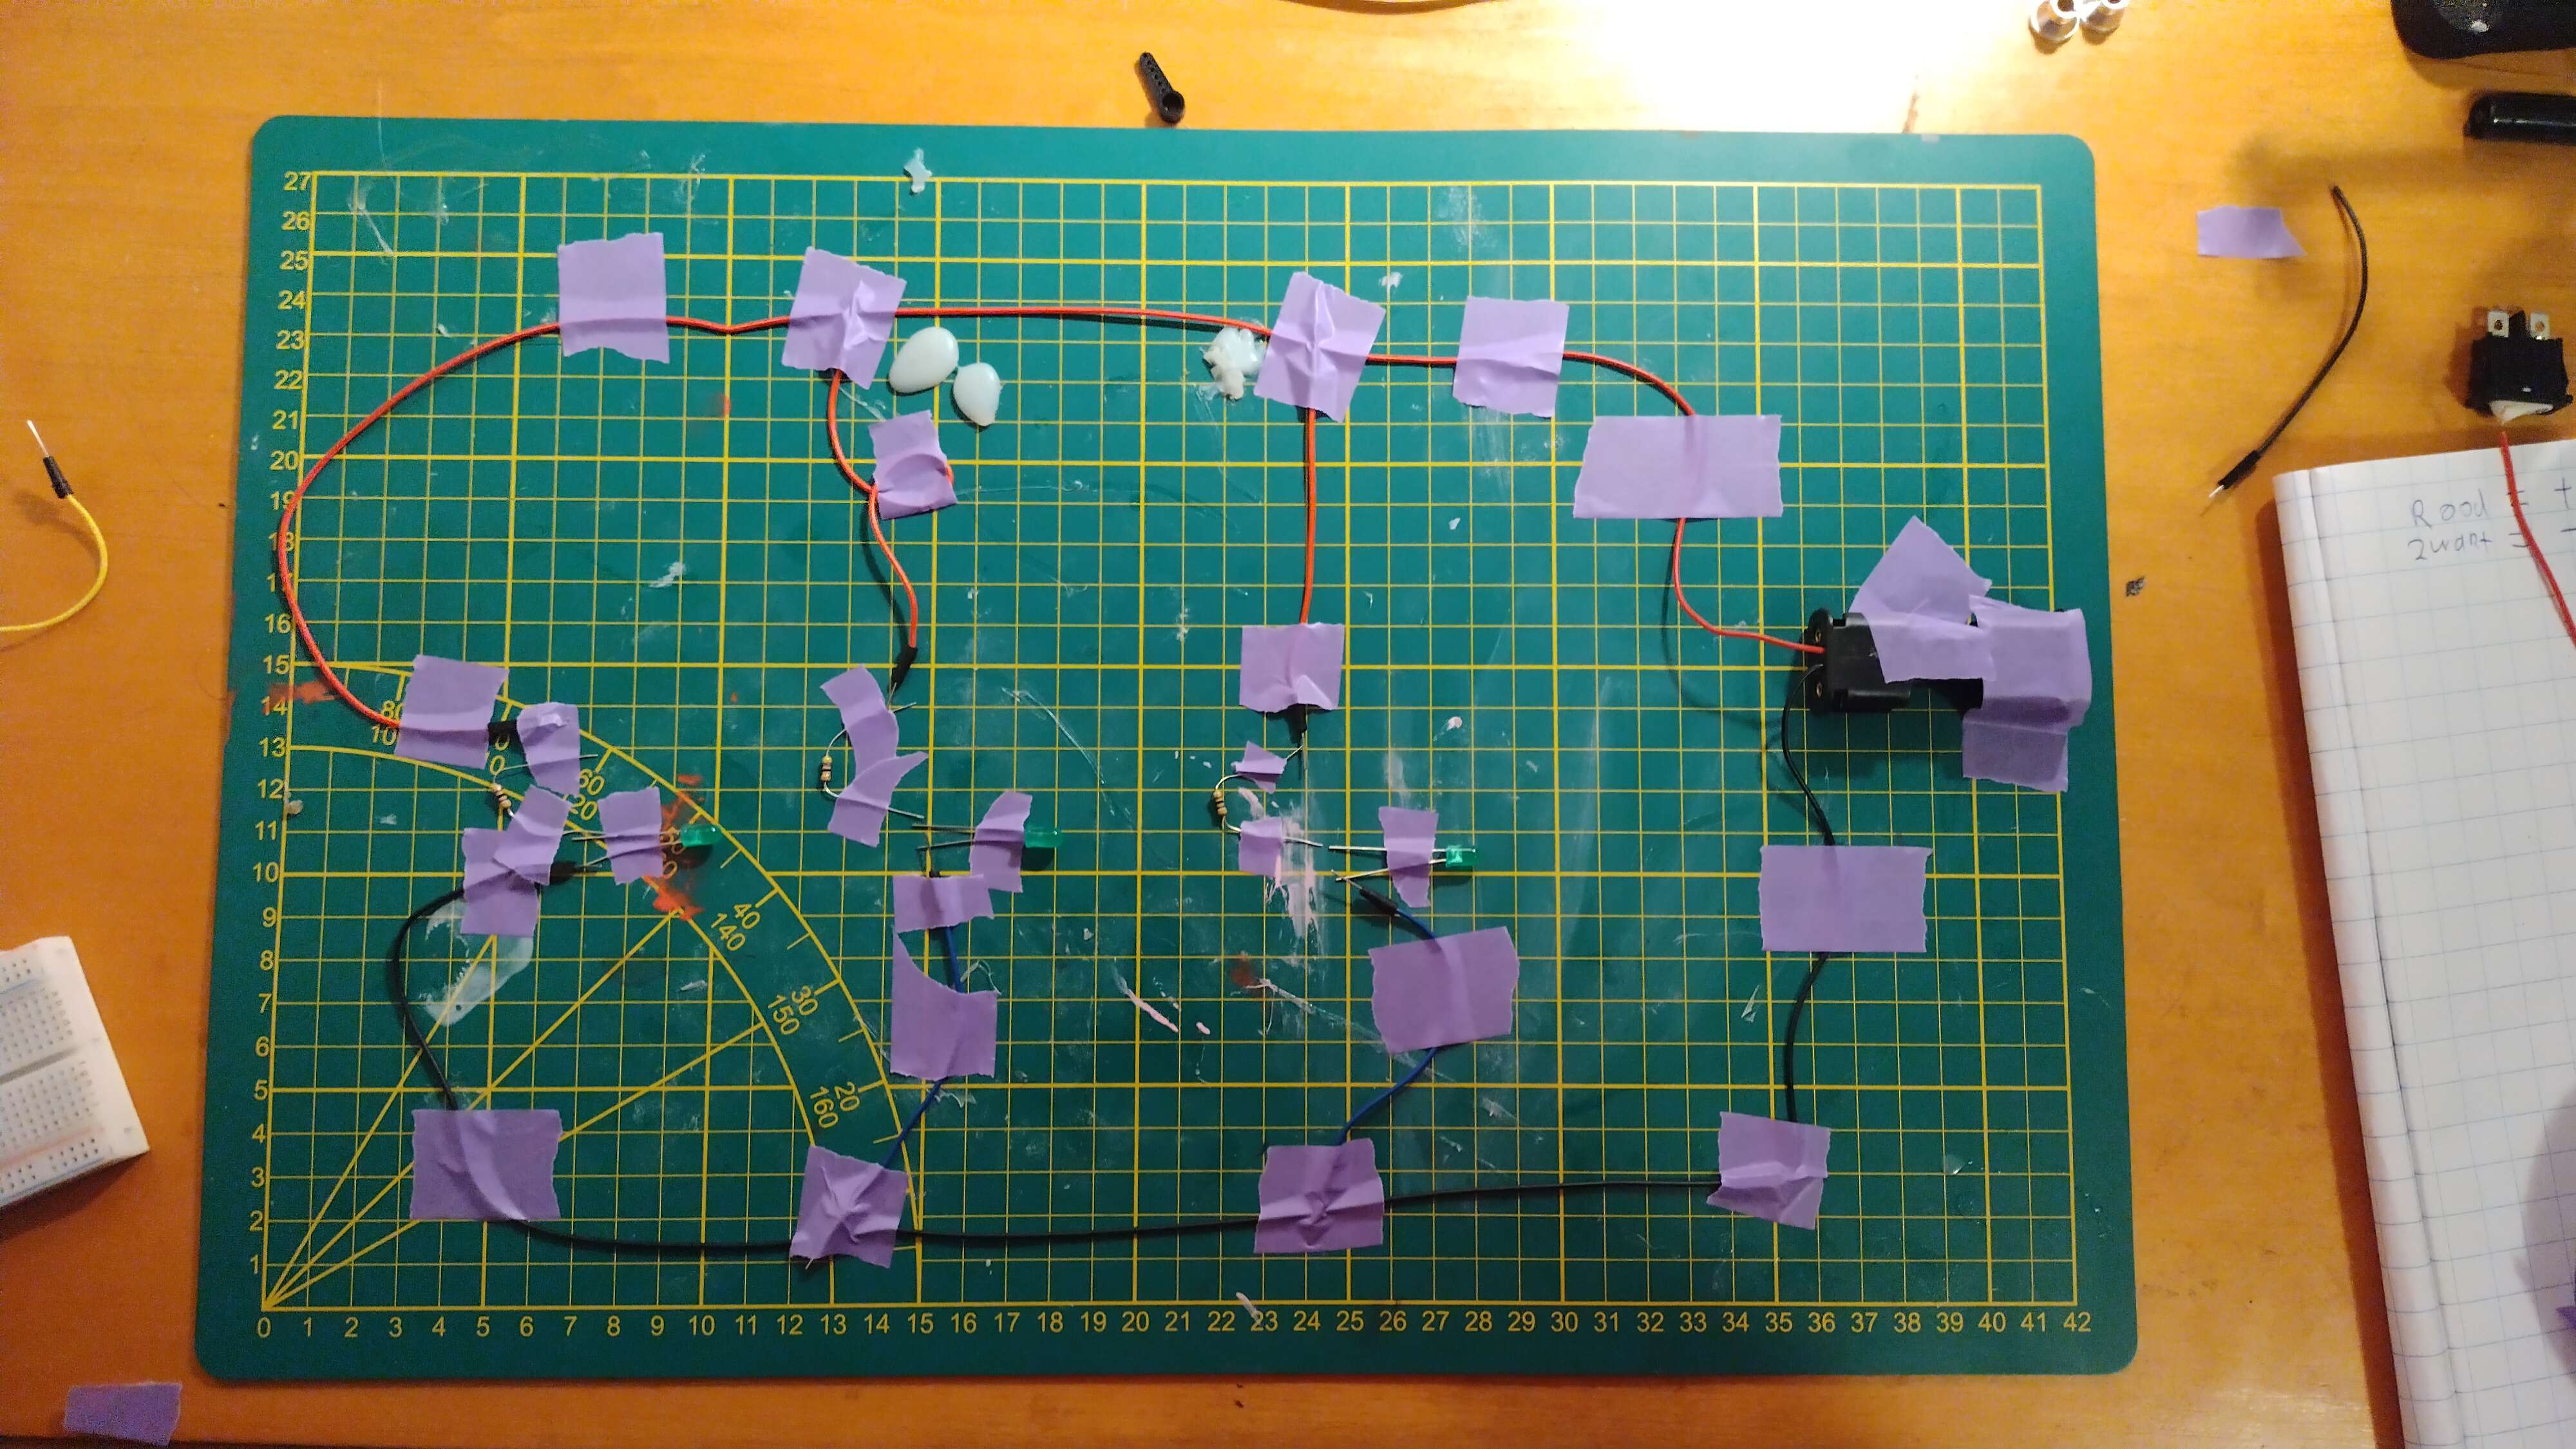
So, for a while I wanted to do something with electronics. My first plan was to build a lamp with a potentiometer as a dimmer, but that turned out to be a little more complicated than I thought. So I thought, lets start with something simple, just some leds and resistors. And with the holidays around the corner I decided that this was also going to be my moms christmas gift, she likes self made things, and I love making them. A mushroom lamp. A simple clay sculpture of a red mushroom with white dots. The electronics took quite some time to figure out, I had trouble understanding how Resistance/Current/Voltage related to each other. After some youtube videos and blogs about this I had a good enough understanding. Here are the designs for the electronic circuit:

I am extremely normal about electronics, I loved designing this and looking up the parts and definitions of the thingies. I LOVE IT. The mushroom itself was simple, I used this tutorial as an inspiration, and it learned me what acrylic varnish was, so i used that too :D.
After designing the circuits I bought some air dry clay and paint at my local action (banger store, well at least the cheap products, they probably exploit their workers so they should do a revolution or something). And I started sculpting. For the base I made a hollow cilinder, before it dried I put in the button to make place for it. Then afterwards I could place the button in the perfectly spaced spot. And for the top hat (?) part I made some dots on it already.
That was drying off so I tested the electronics and checked if everything worked as planned. I Used a breadboard, even though they are good for testing I always find them so confusing. Like I get how electronic flow circles work but somehow I always get confused at how the flow circle of the breadboard works. So I used this video to refresh my understanding. Great video, but distracting music tbh. Everyhting worked :D:
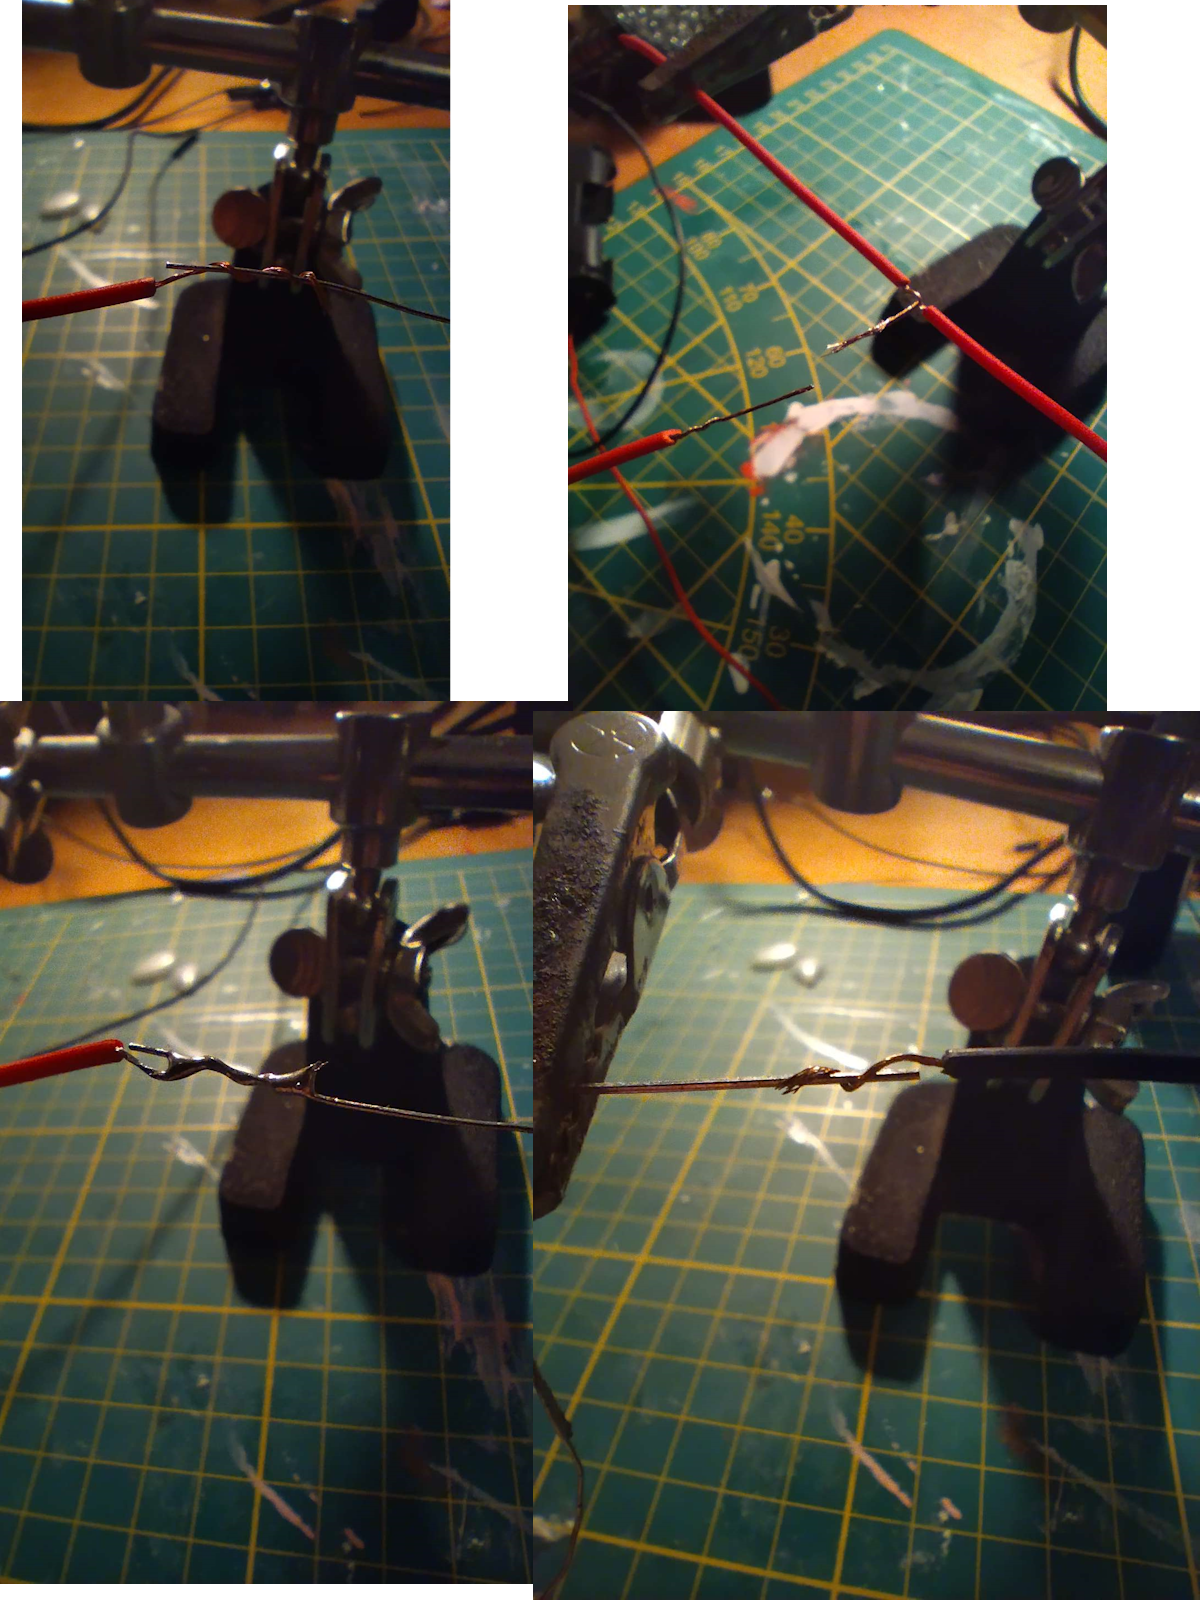
It was time to solder. I LOVE SOLDERING. Here are some pictures:


In the right picture you can also see the sculpture of the mushroom :D. I think the soldering picture is quite intimate, it feels like a nude picture, so close together, intertwined.
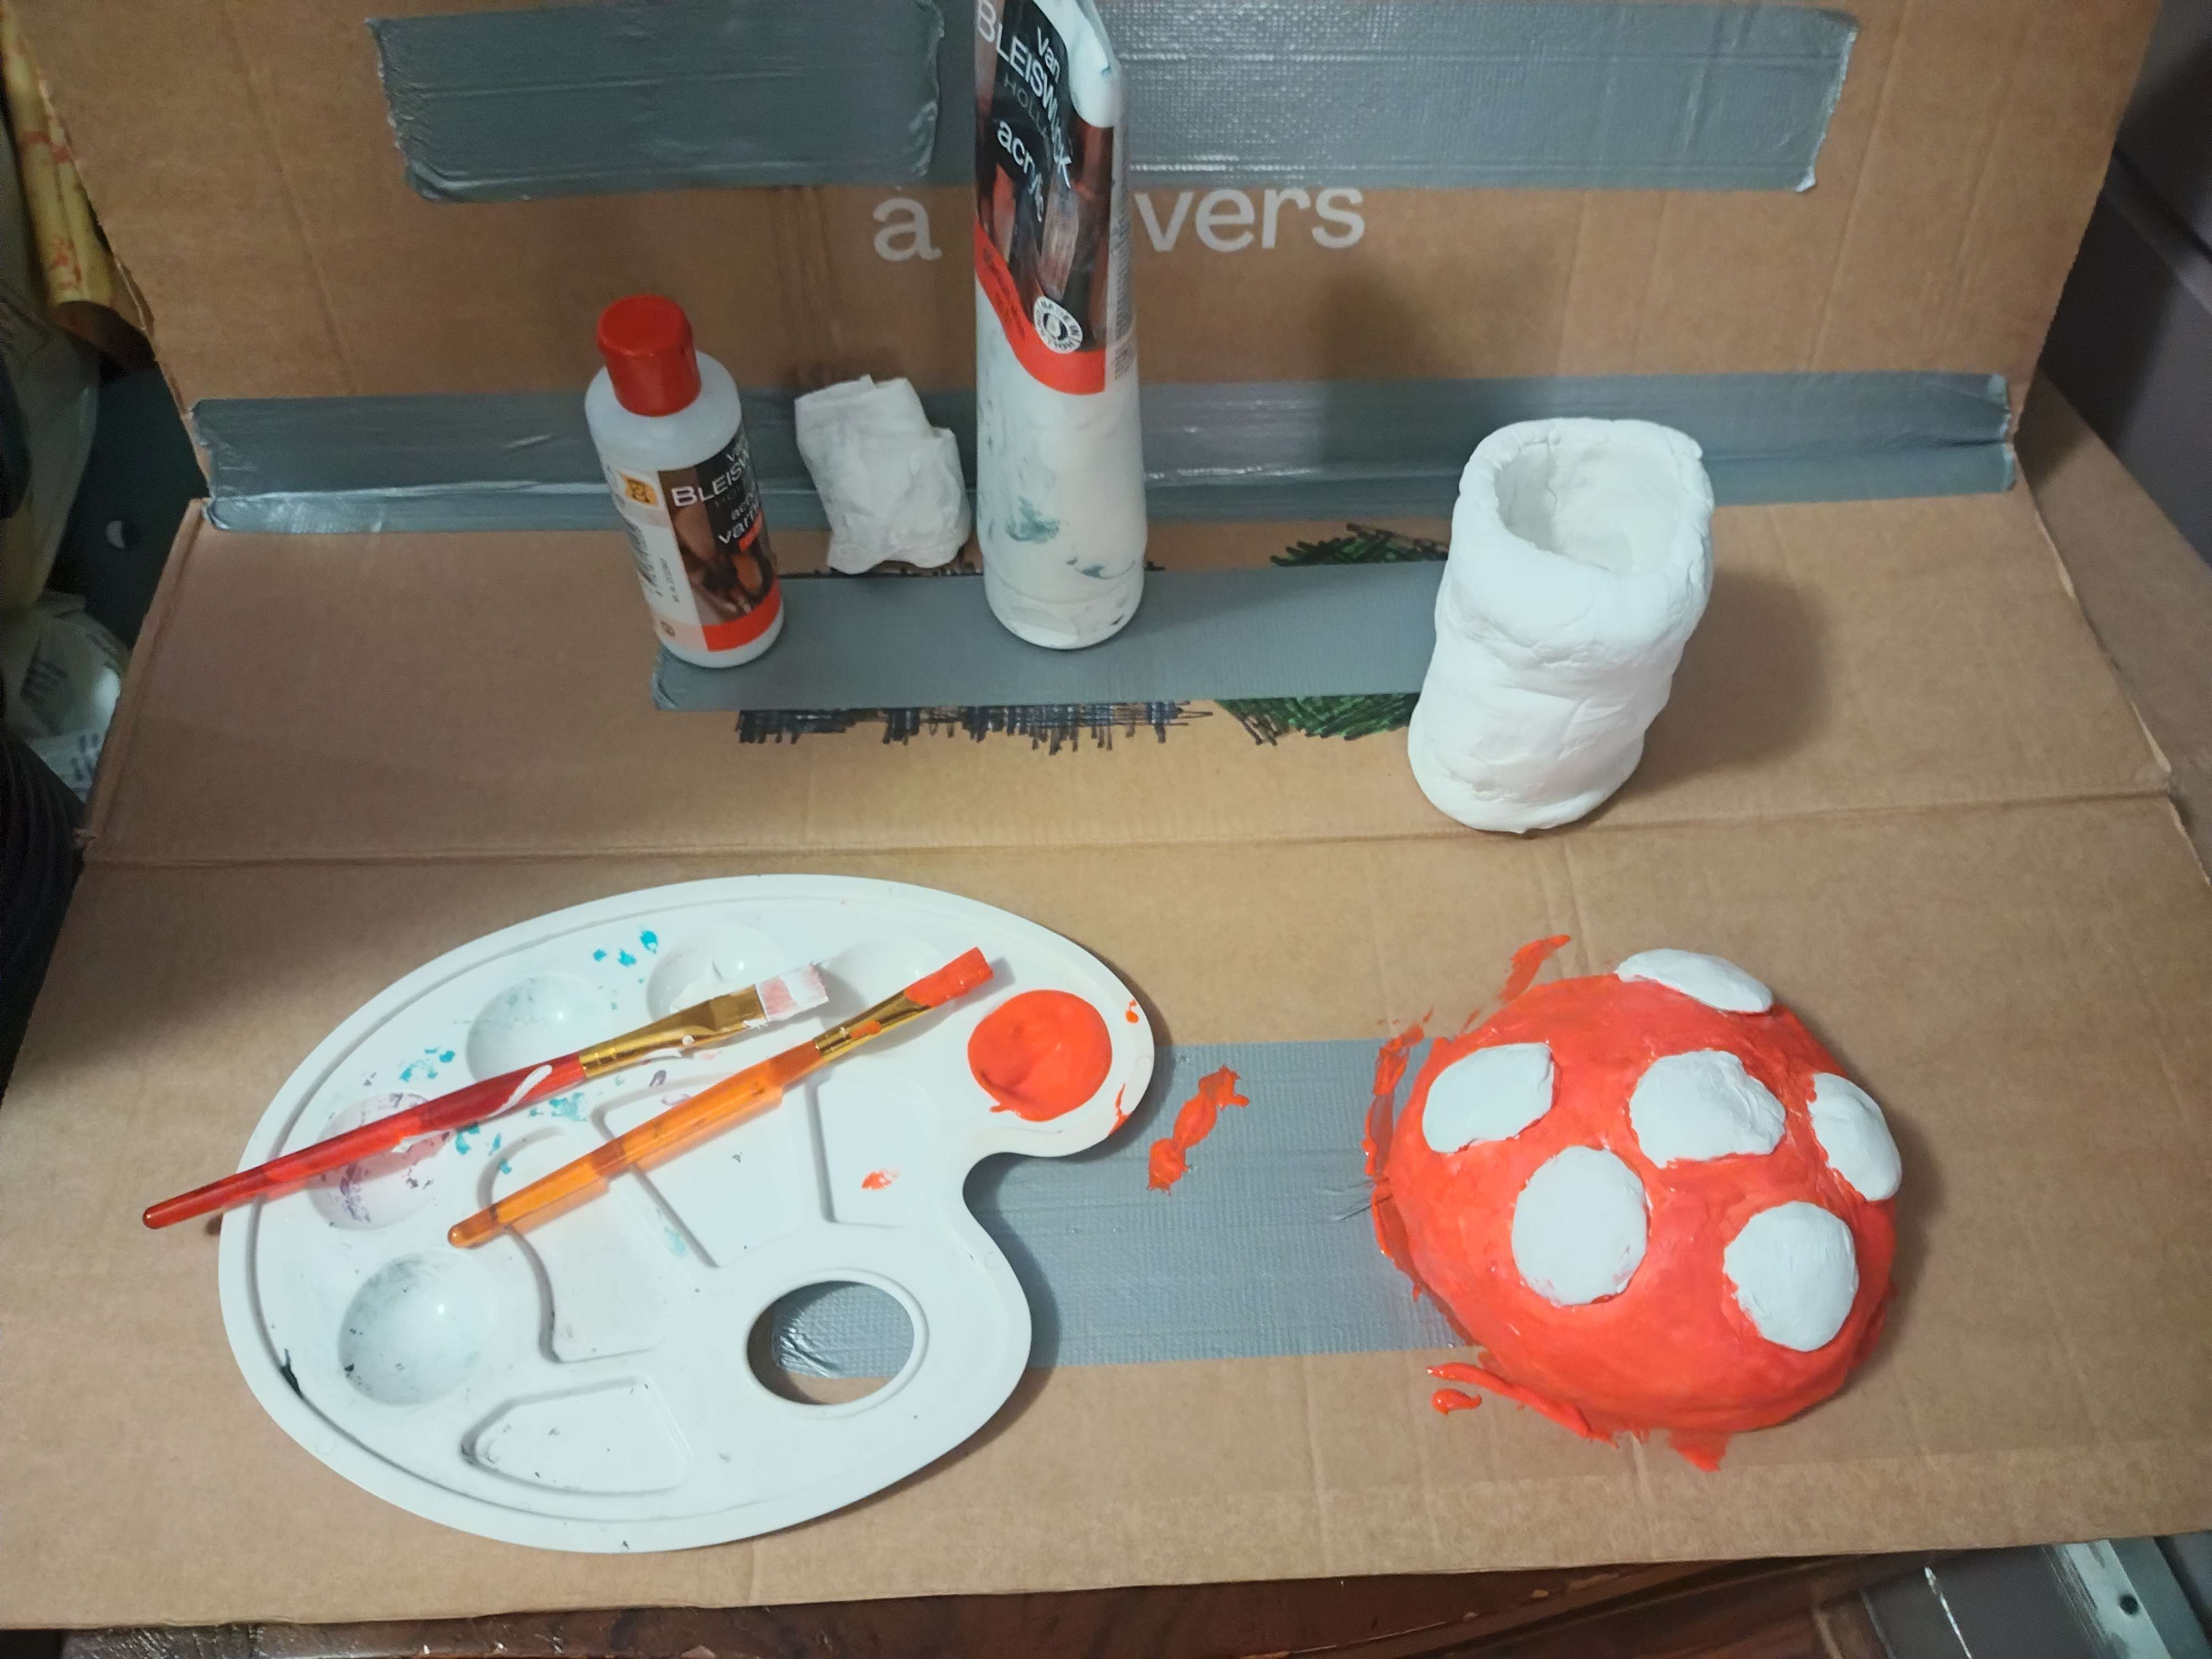
I learned a lot again. I had some experience with soldering but I looked up some tutorials to get into the soldering mood and learned some new tips. I have quite a cheap soldering iron but it works perfectly, Im not sure why people have a more expensive one, money is fake anyway. SHOUTOUT TO SOLDERING!!! In between soldering I also applied acrylic paint to the dry clay. 2 layers for the white base and I think 3/4 layers of red on the top part:

After Everything was painted and soldered It was time to put them together. I almost forgot the varnish, I applied it and was sceptical at first, because when put on it looked a bit greyish, but after it dried it shined beautifully! Then I had to shorten the wires from the leds, I made them long as a precaution but they were tooo long. The finishing touches consisted of attaching the leds to the sculpture, this part I had prepared the least. My plan was a lot of glue. This turned out quite messy lol:
The rest of the parts were quite thought out and robust but I was tired and wanted to have it done lol:
This is the end result! I am really happy with how it turned out, even without the leds it looks like a cool mushroom. I hope my mom likes it.
I really like how the button is nicely tucked into the base, looks so cool. and seeing it all together its really cool how al the electronics are so self contained, you can't see any wires :D. Proud of that
So for the next time I want to think the attachting the leds part more lol. Its quite messy and I would like to make it more attached and able to detach and re-attach, no idea how though. I also want to maybe get a new wire stripper, because the one I have requires a lot of force and sometimes results in clumsy situations and next time I want the leds to shine brighter, I figured out too late that the leds shine quite dim. But overall I am really glad on how it went and I love the end result and I am very proud (Robotmeta is proud as wel ) I cannot wait to make another project, I would love to make a robot :DDDDD